What you can upload
- PDF.
- Word (.docx). Old Word files (.doc) aren't supported: save them as .docx or PDF.
- Photos (JPG, PNG or HEIC), including photos of handwritten notes.
You can upload up to 5 files at a time, of up to 50 MB each. You can mix photos and documents in the same upload.
On the welcome screen, if you pick a file in an unsupported format or larger than 50 MB, you're told right away.
While it's uploading, if you close or reload the page, the browser asks you to confirm. That way you don't lose the upload.
Where to upload
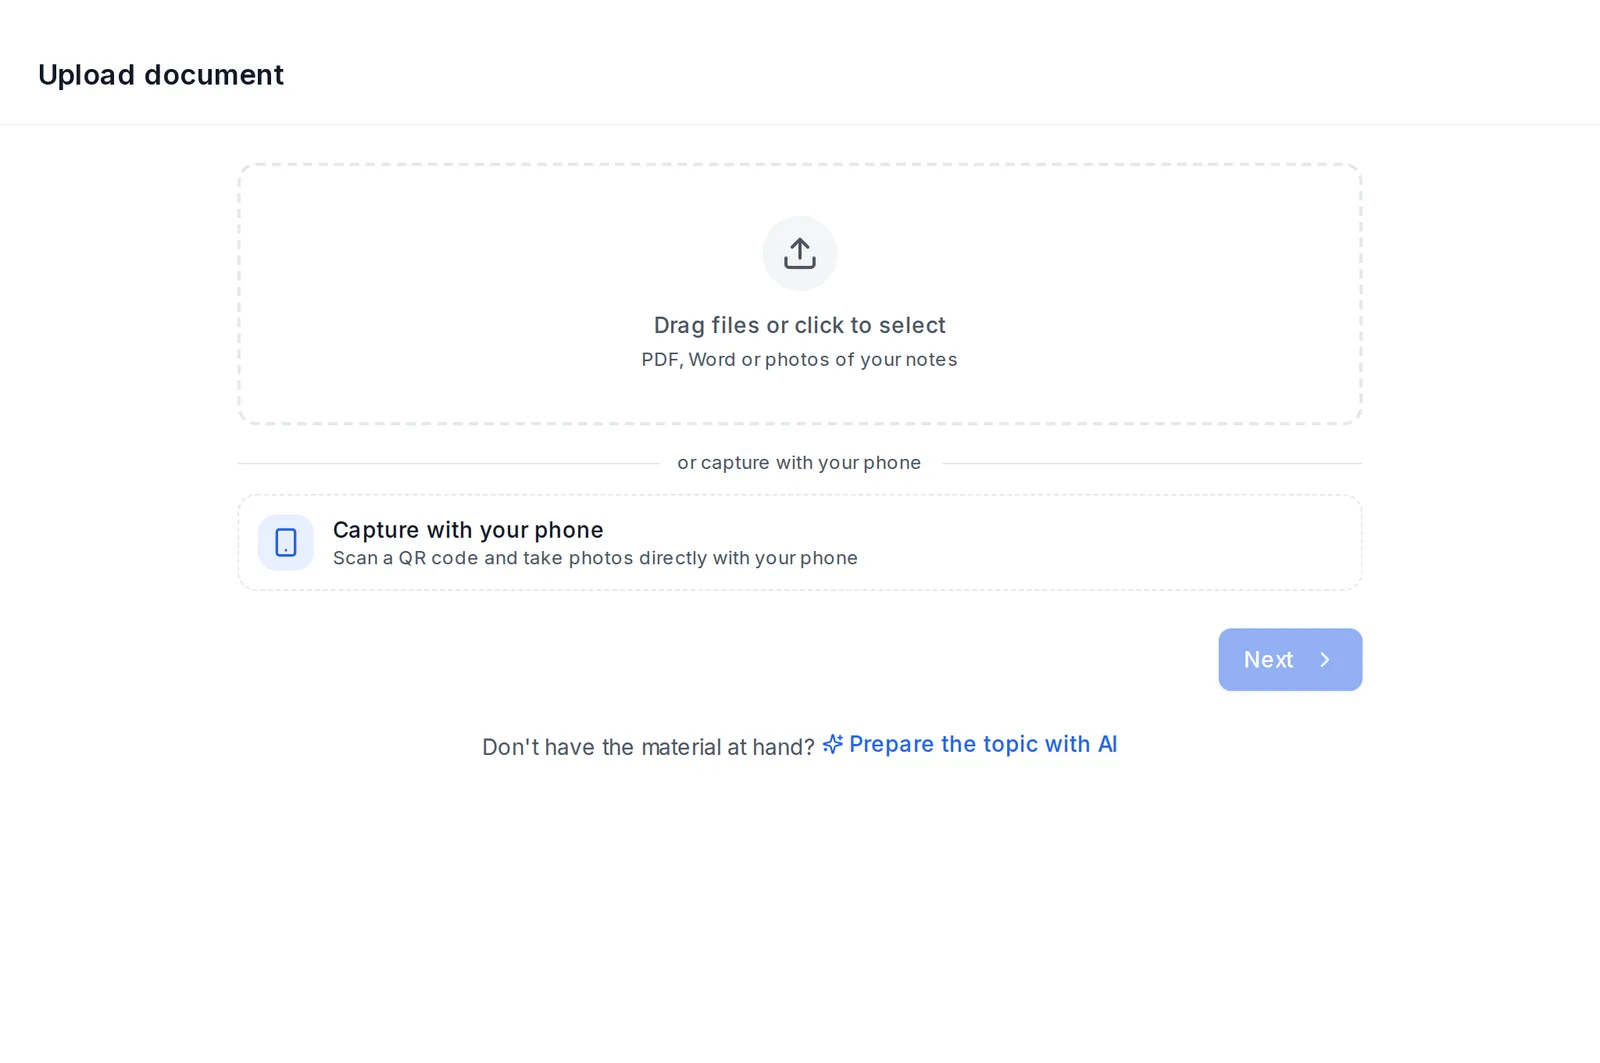 The Upload document screen: drag files or capture with your phone via QR code
- Upload document, or the subject's Upload document button.
- The upload icon next to each topic's name. It sends the file straight to that topic.
- The upload button on each folder in the File cabinet.
If you upload from Upload document, in the Classify document step you choose:
- The folder. You can also create a new one: subject, exam preparation or project.
- The exam date, if it's an Exam folder.
- The topic, if you want.
Taking the photos with your phone from your computer
- On your computer, in Upload document, tap Capture with your phone.
- A QR code appears. Scan it with your phone's camera.
- A page opens on your phone with Take photo (rear camera) and Upload file. Take photos of the pages, in order. So they can be read properly, take each photo up close, with the page filling the screen, in good light and without shadows.
- The photos appear on your computer automatically. There you can reorder them by dragging, delete any you don't need and name the document.
- Tap Confirm N photos to upload them.
The QR session lasts 30 minutes and accepts up to 20 photos, of up to 50 MB each. If it expires, generate another code from your computer.
Uploading when creating an exam, summary, outline or flashcards
The creation wizards start with What material?. You can Upload new, Take a photo or Browse my file cabinet.
Here you upload one document at a time: a PDF, a Word file or several photos, which are combined into a single document. To upload several documents at once, use the File cabinet or Upload document.
Take a photo opens the Take photos window, with Take photo and From gallery. Take as many photos as you need, up to 20. Remove any you don't want with the ✕ on each one. When you're done, tap Use N photos.
On a computer, Take a photo shows the QR code so you can take the photos with your phone (see above). When you tap Confirm N photos, they go back to the wizard in the order you left them. You continue to Where do we save it?.
If you choose photos with Upload new, they also open in Take photos. That way you can add more before continuing. On Android phones and tablets, the file picker sometimes only lets you choose one: you can add the rest from there.
In the Where do we save it? step you see the files you're about to upload. You can remove any of them with its ✕. If you don't have any folders, New folder creates one on the spot.
What it costs
Before you confirm, the app shows next to each file:
- how many pages it has,
- whether it reads them as text or as scanned,
- the Cost of this upload.
If you're not happy with it, cancel without spending anything.
A PDF with text (that you can select) is the cheapest. Photos and image-only PDFs count as scanned. They cost more per page, because they have to be read with OCR. Pages of a text PDF that contain figures or photos also cost the same as scanned pages, because the images are read. A slide template background or a logo repeated on every page doesn't count as a figure.
Figures that teach something (diagrams, labelled drawings, maps, charts, tables) are cropped and saved, and they show up in your summaries, outlines, flashcards and exams where they explain the point. In photos of handwritten notes, so do the diagrams you drew. Covers, portraits and decorative photos are left out. It costs nothing extra.
Uploading photos as they are is the normal way to use the app. If you made a PDF with a scanning app and it has selectable text, the app detects it and charges it as text.
The exact price per page is in the price table (examflow.app/en/pricing/credits and Settings → Credits).
During the free trial, pages don't use credits: they come out of your 30-page allowance (see Getting started: account, level and menu). If the upload doesn't fit in what's left of your trial, or the allowance is used up, the app won't let you upload it. It suggests removing files or getting a pack. Packs have no page limit.
After uploading
The document goes through several steps: converting, reading the text, organizing… The card shows "Step N of 3". A 10-20 page document usually takes between 1 and 3 minutes.
Until processing finishes, you can't generate anything from it.
If a page of a scan or of your photos can't be read (a shaky, blurry, cut-off or very dark photo), the document card says "N unreadable pages". When you open it, a notice at the top says which ones. Those pages aren't in the text, so they don't show up in summaries, flashcards or exams, and the credits they cost are returned to you (in the free trial, the pages still count toward your allowance). If only parts can't be read, it says "N pages partly read": those pages are still used, with whatever could be read. To get them back, take those photos again with good light, the phone steady and the whole page in view, and upload them as a new document.
If you upload the same file twice in the same folder, the app warns you that it already exists.
If you run out of credits partway through an upload of several files, the ones that fit are uploaded. The app tells you which ones weren't.
Documents
In Documents you have all your documents grouped by subject and topic, with a search by name.
You don't usually need it, because each document is also in its subject and topic. It isn't in the menu: open it directly at examflow.app/documents.
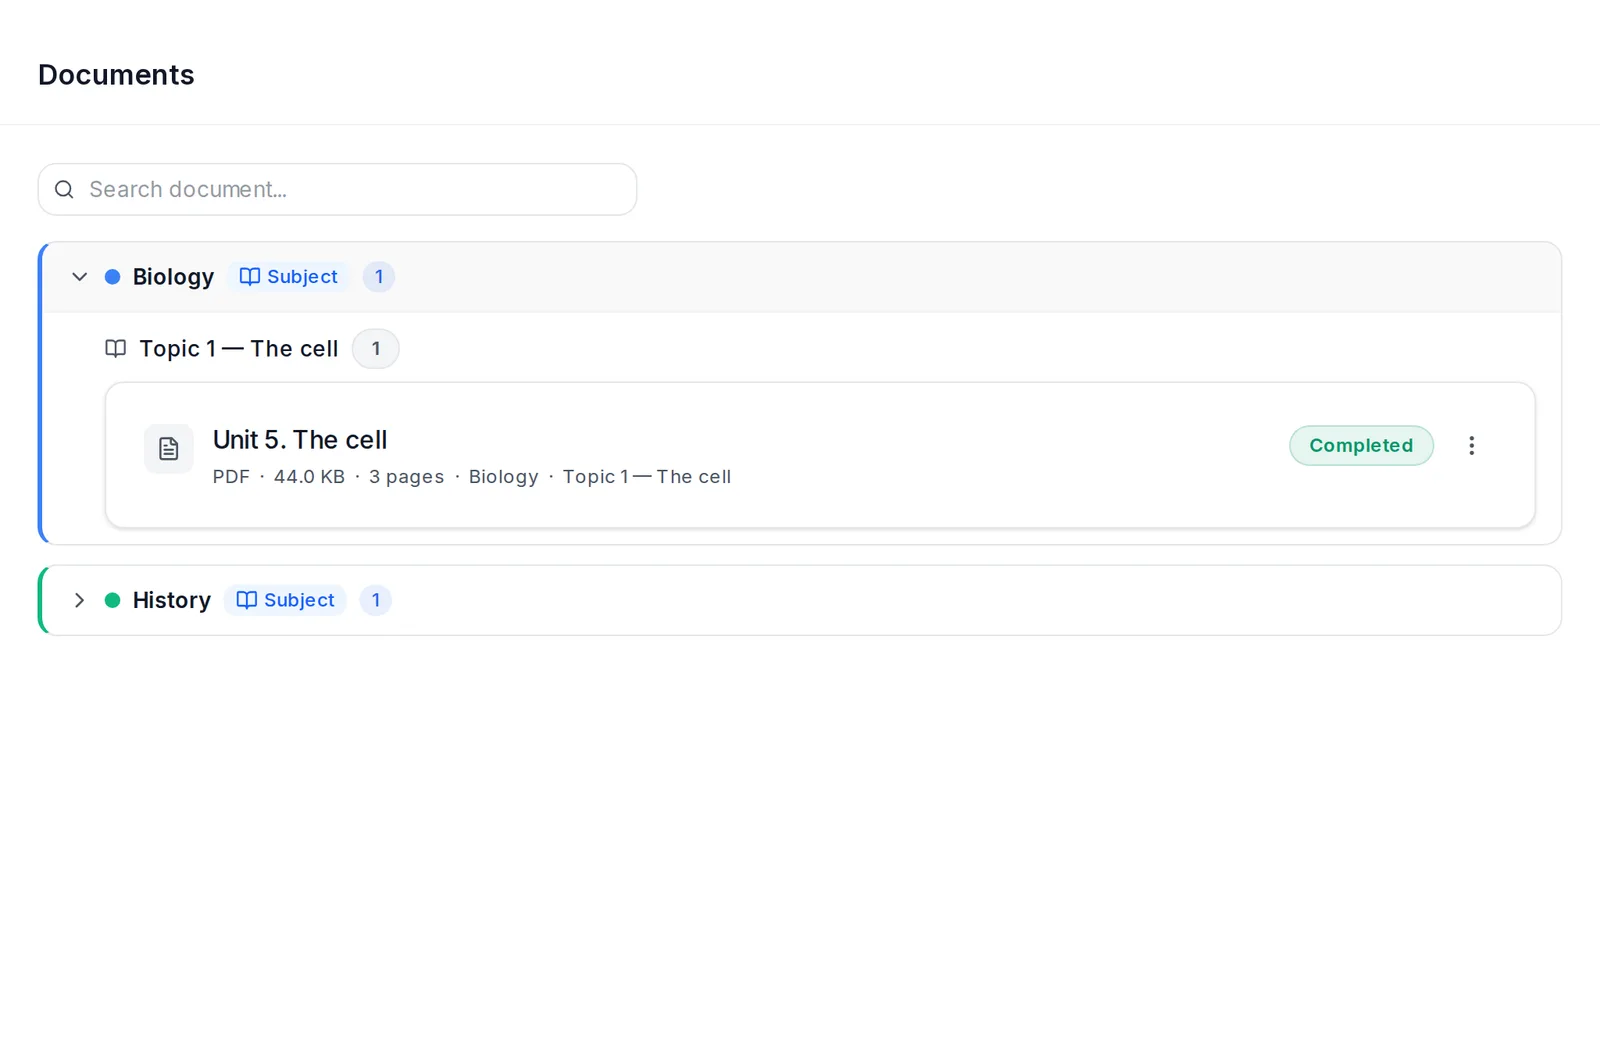 The Documents screen: search box and documents grouped by subject and topic, with their status
Each document's ⋮ menu has:
- View document: opens the viewer, once it's processed.
- Rename.
- Retry processing: only appears if it failed.
- Add pages: adds more photos to the same document, once it's processed.
- Delete.
If a document gets stuck in error, use Retry processing in Documents, or Retry in the ⋮ menu of its card inside the subject. If it keeps failing, write to support from Settings → Contact.